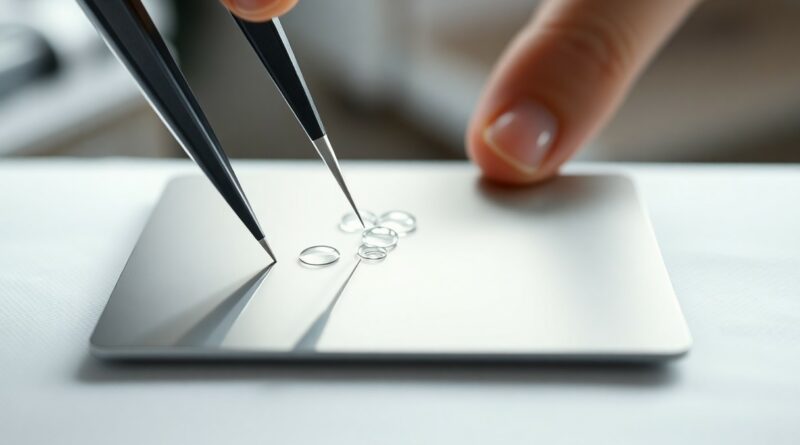
How to Apply a Credit Card Skin Without Bubbles – A Step-by-Step Visual Guide

There’s a simple way to achieve a flawless finish when applying your credit card skin. Follow this detailed tutorial to ensure every step leads to a professional, bubble-free result. You’ll learn how to align the skin perfectly, use the right pressure, and avoid common mistakes that cause air pockets. The process is straightforward-when done correctly, your card will have a smooth, factory-like appearance.
Key Takeaways:
- Proper surface preparation is necessary-clean the credit card thoroughly with alcohol and let it dry completely to ensure the skin adheres smoothly and resists lifting.
- Use a slow, controlled application technique starting from one edge, pressing the skin down gradually while using a credit card or squeegee to push out air bubbles as you go.
- If bubbles do appear, gently lift the affected section with a corner of tape or tweezers, reposition, and smooth again-never stretch the skin, as this can cause wrinkles or misalignment.
Essential Tools and Preparation Factors
To achieve a bubble-free credit card skin application, you need a few specific tools: a microfiber cloth, isopropyl alcohol (70% or higher), a credit card-sized skin, a squeegee or old credit card, and lint-free wipes. Properly preparing the card surface ensures strong adhesion and a flawless finish. This
Gathering necessary application materials
You’ll need a microfiber cloth, 70% isopropyl alcohol, a lint-free wipe, a squeegee or old credit card, and the adhesive skin cut to size. Having all items ready prevents delays during application. This
Cleaning the credit card surface
Dirt, oil, or dust on your card can cause bubbles or peeling. Wipe the surface thoroughly with a lint-free cloth dampened with 70% isopropyl alcohol. Let it dry completely before applying the skin. This
Cleaning the credit card surface removes invisible oils from handling that interfere with adhesion. Using 70% isopropyl alcohol ensures a residue-free finish, while a lint-free wipe prevents fibers from sticking. Skipping this step risks poor alignment and air pockets. This creates the foundation for a smooth, lasting application.
How to Remove Existing Skins Cleanly
Always start with a clean removal process to protect your card’s surface and ensure the new skin adheres properly. Residue or tears from rushed removal can ruin the fit of your next skin. Take your time and use the right tools to maintain the card’s integrity throughout the process.
Peeling back the old skin layer
Begin at a corner and slowly lift the skin using a fingernail or plastic tool. Peel at a 45-degree angle to minimize adhesive left behind and avoid damaging the card. If the skin resists, warm it gently with a hairdryer for 10-15 seconds to loosen the bond without overheating.
Eliminating leftover adhesive residue
Use a microfiber cloth dampened with 70% isopropyl alcohol to wipe away any stickiness. Alcohol dissolves residue without harming the card’s surface. Gently rub in circular motions until the area feels smooth and clean, ensuring optimal adhesion for your new skin.
Leftover adhesive can create bumps or prevent full contact with the new skin, leading to bubbles or peeling edges. The 70% isopropyl alcohol solution is ideal because it evaporates quickly and doesn’t leave a film. Never use acetone or strong solvents-they can cloud or warp the card’s finish. A properly cleaned surface is the foundation of a flawless application.
How-to Execute Precise Alignment Techniques
Perfect alignment starts with steady hands and a clean surface. Line up the skin’s cutouts exactly with your card’s chip and magnetic stripe, using the 0.5mm precision edges designed for exact fit. Even slight shifts can cause bubbling or overhang, so take your time. The skin should sit flush without pressing down yet-this initial placement determines final accuracy.
Positioning the skin relative to the chip
Center the skin so the 3.5mm x 4.5mm chip window aligns perfectly over your card’s EMV chip. Misalignment here can block reader access or damage the skin during transactions. Hold the skin taut and verify the chip is fully visible through the opening before making contact.
Aligning the skin with the card edges
Match the skin’s outer dimensions to your card’s 85.60 × 53.98 mm ISO/IEC 7810 ID-1 standard edges. Even a 1mm offset can cause peeling or snagging in wallets. Use the micro-beveled borders on the skin to guide flush contact, ensuring full coverage without overhang.
When aligning the skin with the card edges, start by placing one short edge first, then slowly lower the rest like a hinge. This method reduces air pockets and allows micro-adjustments. The skin’s laser-cut perimeter is engineered to match your card exactly, so resist the urge to stretch or reposition after initial contact. Proper edge alignment ensures durability and a factory-like finish.
Step-by-Step Tips for a Bubble-Free Application
Follow these proven techniques to ensure your credit card skin adheres smoothly and cleanly. Begin with a dust-free surface, use slow, deliberate motions, and always work from the center outward. Apply firm, even pressure with a soft card or squeegee tool to push air toward the edges. Recognizing that even small contaminants can cause lifting, watch this credit card cover sticker tutorial for real-time guidance.
| Step | Action |
|---|---|
| 1 | Clean card with alcohol wipe, let dry completely |
| 2 | Peel backing slowly, align skin precisely |
| 3 | Press center first, then smooth outward |
| 4 | Use credit card tool to remove residual air |
Applying the skin from the center outward
Start at the center of the card to anchor the skin before moving toward the edges. This method prevents trapped air by allowing it to escape naturally. Moving too quickly can introduce air pockets, so take your time and maintain steady contact across the surface.
Using firm pressure for a secure bond
Press firmly with a smooth tool to ensure full adhesion along the edges and corners. Incomplete contact may lead to peeling, especially with frequent use. Recognizing that durability depends on proper application, watch the credit card cover sticker tutorial for expert technique.
Applying firm pressure isn’t just about flattening the skin-it activates the adhesive layer for long-term hold. Use a plastic card or squeegee in overlapping strokes, focusing on the borders where lifting is most common. This step is especially important if your card will be stored with others in a tight wallet.
How to Troubleshoot Common Mistakes
If you spot air pockets or misalignment while applying your credit card skin, don’t panic-these issues are fixable. Start by ensuring your card surface is clean and dry, then slowly reposition the skin. Watch our How to Apply Your Credit Card Skin tutorial for real-time tips. Peeling back gently and reapplying often resolves most errors without damaging the film.
Removing trapped air bubbles
Spot a bubble? Use a credit card or squeegee to push it toward the nearest edge. Work slowly to avoid tearing the skin. If the bubble persists, lift the film slightly and re-smooth it down. Most bubbles disappear within 24 hours as the adhesive settles, especially with precise pressure.
Correcting edge lift or placement errors
Edge lift happens when the skin doesn’t fully adhere at the corners. Immediately stop and gently lift the affected section. Realign carefully, then press down firmly using a microfiber cloth. Misplacement can be corrected in the first few seconds-after that, the adhesive bond becomes too strong to adjust safely.
Correcting edge lift or placement errors requires quick action. If the skin starts peeling at the edges, it’s likely due to dust or rushed application. Lift the film just enough to reposition it, ensuring the card’s surface is free of debris. Perfect alignment is possible when you take your time and use a steady hand-don’t force the skin down until you’re certain it’s centered.
Conclusion
With this in mind, you now know how to apply a credit card skin without bubbles by following the step-by-step visual guide, using precise alignment, slow smoothing, and edge-checking techniques to achieve a flawless finish every time.
FAQ
Q: What tools do I need to apply a credit card skin without bubbles?
A: You need a few basic tools for a clean application: a soft microfiber cloth, a credit card-sized squeegee or a clean, hard-edged plastic card (like an old gift card), tweezers, and a clean, flat surface. Optionally, a small amount of isopropyl alcohol on a cloth helps remove dust or oils from the card surface before starting. Avoid using water or household cleaners, as they can leave residue or damage the card’s magnetic strip or chip.
Q: How do I prepare my credit card before applying the skin?
A: Turn off your card reader or mobile wallet if using a contactless card. Wipe the entire surface with a dry microfiber cloth to remove fingerprints and dust. For a deeper clean, lightly dampen the cloth with isopropyl alcohol and go over both sides, then let it air dry completely. Make sure the card is flat and undamaged-bent or warped cards make skin application difficult and increase the chance of bubbles or lifting edges.
Q: What’s the best way to align the skin and avoid misplacement?
A: Start by peeling only the backing from the adhesive side of the skin just enough to expose one edge. Line up that edge precisely with the same edge of your card, holding both skin and card steady with your fingers. Once the first edge is flush, slowly lower the rest of the skin onto the card like a hinge, smoothing it down gradually. This method reduces air trapping and allows for minor adjustments before full contact.
Q: How do I remove air bubbles after applying the skin?
A: If small bubbles appear, gently lift the skin from the nearest edge using tweezers or your fingernail, then re-smooth it using the squeegee or plastic card. For stubborn bubbles, press outward from the center with firm, slow strokes. Never use sharp objects to pop bubbles-this can tear the skin. If a bubble persists, partially peel and reapply that section with more control. Work in a dust-free area to prevent particles from causing lifts.
Q: How do I remove an old skin before applying a new one?
A: Peel the old skin slowly from one corner using your fingernail or tweezers. If it resists, warm it slightly with a hairdryer on low heat for 10-15 seconds to soften the adhesive. Wipe away any leftover residue with a cloth dampened with isopropyl alcohol. Let the card dry before applying a new skin. Avoid scrubbing hard to protect the card’s surface, especially around the chip and magnetic strip.